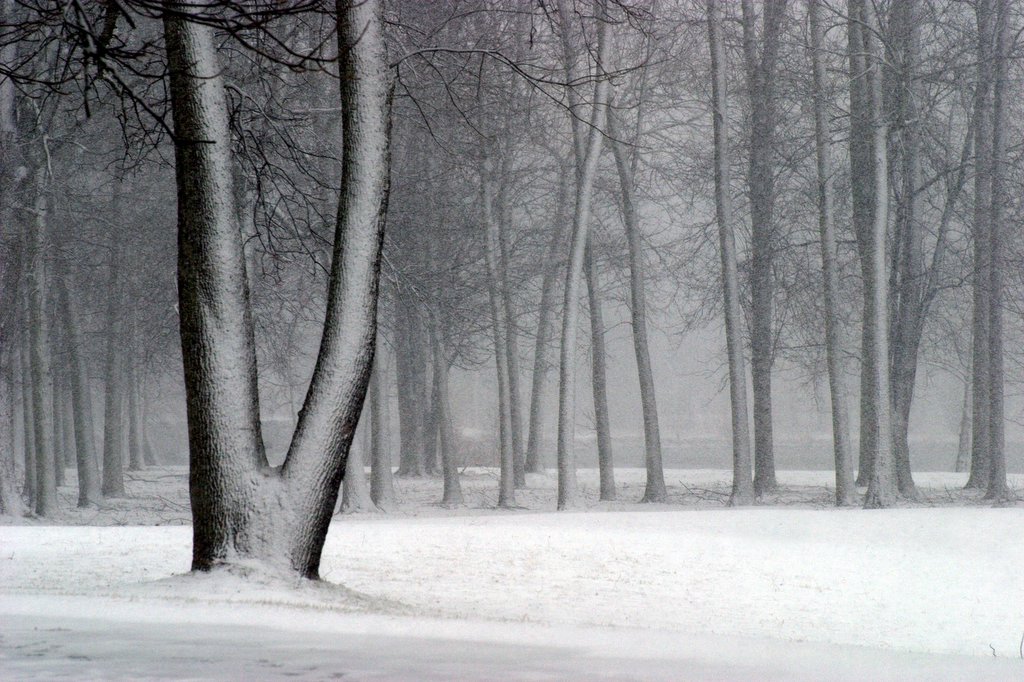
Tuesday, February 28, 2006

Family Days: Graham

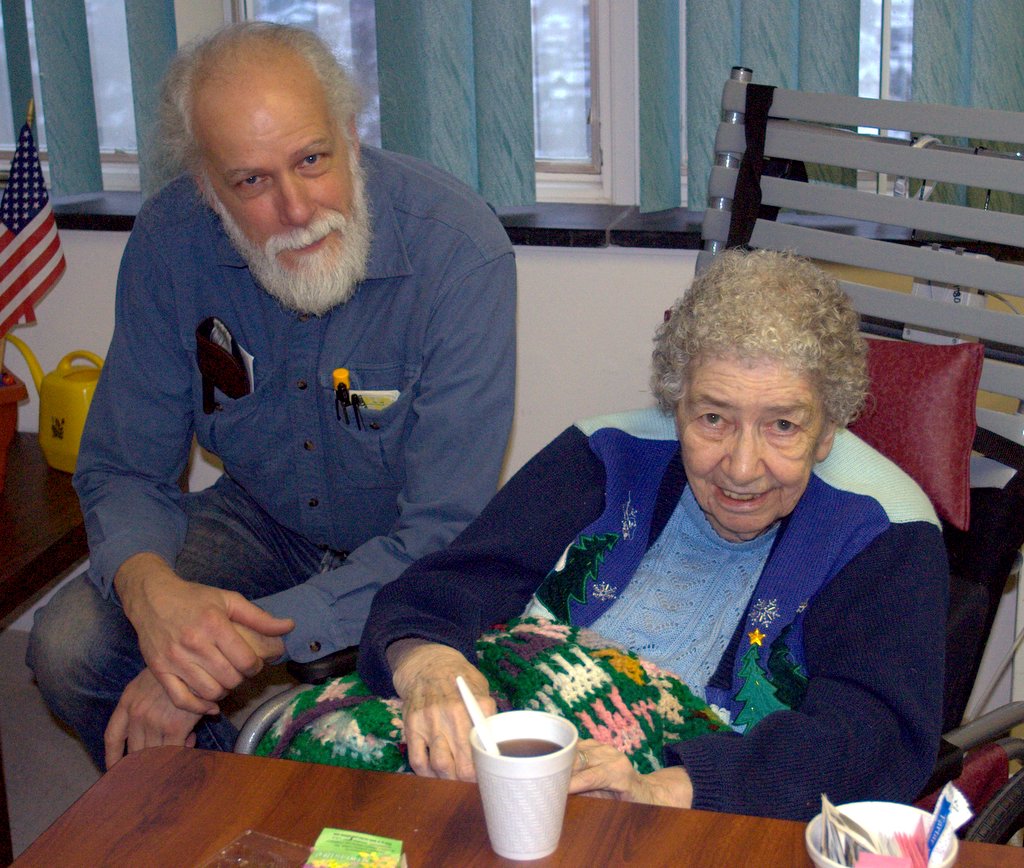
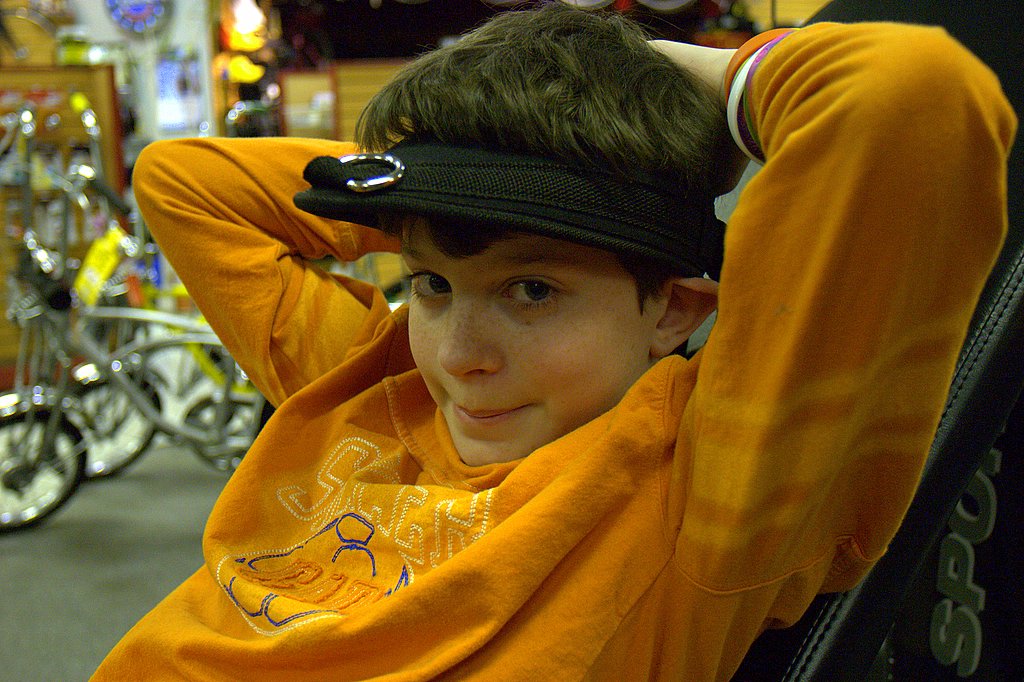
This is my "son," Graham. He will be Twelve March 1st. He is Keith's biological son and I am going to adopt him. I've been his "Mom" for over three years now. His biological Mom, Susan, died about 5 years ago. This picture was taken at the bike shop--last night. As always, click on the image to see larger. Posted by Picasa

Sunday, February 26, 2006

Family Days, Keith and Margaret

Family Days, Keith and Margaret, photo by Mary Stebbins. This is my fiance, Keith, and my Mom, Margaret, at the Nursing home (Loretto), in Syracuse, NY. Mom just got a perm. Taken and posted to Feb 25 for the last of the February Family Day Posts. It also completes my immediate family. Click on image to see larger. Posted by Picasa

Family Days: My Daughters and their partners

Family Days: My Daughters and their partners, photo by Mary Stebbins. Excuse the Kangaroo butt, but this is not for critiquing, just for fun. If we decide on a specific family day, I will move it there. A February submission (late). Click on the image to view larger.

From left to right, Erwin, Sara's partner, Sara, Erin and Mark, Erin's partner. Sara is 31, Erin 29. Sara works in a Chem lab doing environmental testing and Erin works in Graduate admissions at Syracuse University. Erwin has gone back to school to be an English teacher and Mark works at a Swimming Pool and Spa company. Posted by Picasa

Saturday, February 25, 2006

The Dressing Gown original

This is the original. Guess I should not have put her in the corner. Maybe I ought to cut her out and put more plain wall to her left instead of the corner.

The Dressing Gown


This one of Mia was not as sharp as I would have liked. I have used the Buzz Filter on it but reduced the buzz more on her face. I have fiddled with the cropping and am unsure of this.

I will look out the original to see if anyone can think of any better way of using it or just discarding it.

I would appreciate your thoughts.

Thursday, February 23, 2006

Photique

Looks good to me. I may have to post mine early as I expect to be driving across Canada and the US on the 6th.

Have we agreed on Photique or do we want to use Seeing 101? I will remove me biography from Photique and add links to your galleries and web paages (or you can)

Photique

Looks like we are all agreed on March 6th for the 1st assignment

3 PICS OF EACH:
March 6th - Shop Fronts
March 7th - Fence, hedge, road, path
March 8th - Off Season, abandonment

Wednesday, February 15, 2006

SEASONS Challenge

On the 15th of each month, we will post SEASON photos. This will include such topics as "Signs of Spring," Winter's Fury, Summer Lushness, Fall Colors, etc. To post to this challenge on a date other than the 15th, be sure to change the date on the Post and comment Options on the lower left to Feb 15, March 15, April 15, etc. Include the actual date of the photo, if desired, since the posting date will not necessarily be the taking date or the editing date. Leave a comment below if you need further assistance.

Season, Signs of spring, by Keith

Here's another of Keith's signs of spring (Tongue in cheek) photos. Posted by Picasa

Season, "Signs of Spring" by Keith

This is one of the photos that Keith took for Kate's SIGNS OF SPRING Challenge, LOL. Posted by Picasa

River Snow Trees (Not Sping variation #2)

River Snow Trees (Not Spring variation #2), by Mary Stebbins. I fiddled with this slightly in PS7 (since my PSCS is on the blink). It was a raw image ut I had to save it as a jpeg to open it in PS7, so I lost quality there. If I get things straightened out, I may post one more variation of this. Click on the image to see larger (as always). Posted by Picasa

Season: Signs of Spring (Not) 1

Season: Signs of Spring (Not) 1, photo by Mary Stebbins. This was taken Saturday, Feb 25. I'm posting it here for "The Seasons" Challenge. There has been no post processing of any kind on this image--it is just as it came from the camera. The "foggy" look is actually falling snow. I may post another picture to show the falling snow better, but I like this image. However, I would prefer to do a little post-processing when I have time, and may repost it. I had to delete Photoshop from my computer and will have to reinstall it when I have time. Click image to view larger.Posted by Picasa

Clark Reservation State Park in Snowstorm

Clark Reservation State Park in Snowstorm, photo by Mary Stebbins. I took this during my "signs of spring" craze. LOL! Posted by Picasa

Season: Lamp-lit snow

Snow, falling through the streetlamps. Posted by Picasa

Photique

Constructive and helpful criticism for photos.

Tuesday, February 14, 2006

Creating Heart Mask, by Jay Valle


This image is by Jay Valle from his BP gallery.

Here are some instructions on how to create masks based on my trial and error. I don't know if there is an easier way, this works for me and I hope it does for you...

1) Open PS and click on new...any size will do for now.
2) Go to your paint bucket and make the white canvas any color, with the apple I left it white.
3) Now in the tool pallet go to the shapes feature located just below the "T", there at the very bottom you'll find the custom shapes tool.
4) As soon as you click on that you'll see a choice menu above.
5) Drop down that shapes menu and you'll see a bunch of little cool shapes to play with.
6) Click on the heart and the color black in the color box to the right.
7) Bring your curser back to your canvas, click the left mouse bottom as you drag it to create your heart shape. You can adjust its size and position by then clicking the Free Transform Path under the edit menu.
8) Now when that's all done go to the layers menu and click on flatten Image.
9) Now that the image is all one piece, click the eraser tool and get the Magic Eraser Tool.
10) Bring that tool to the canvas and put it into the heart then left click the mouse. BINGO! If all went well then you'll see a transparent heart (shown by checkerboard in heart), and your mask is created.
11) Almost done Mary, stay with me now...Go to the top of the tool pallet and click on the rectangular Marquee Tool.
12) Left click keeping finger on mouse button and glide it over the entire canvas from left upper corner to lower right corner, then release, you'll see the dotted wiggle lines around the entire canvas.
13) Now under the Edit menu click Cut. And close the screen. You'll get asked if you want to save? You can or just say no.
14) Now for the final touch....open any picture in Photoshop.
15) Now in the Edit menu click paste.

Okay, there is your mask over your photo. Note: You can adjust the size of the mask by clicking transform under the Edit menu. When all is positioned and colored the way you want it, don't forget to flatten your images to make it one.
I hope this helps, let me know how you made out.

This tutorial was sent to me by BP member Jay Valle. Here is the link to his BP gallery.